
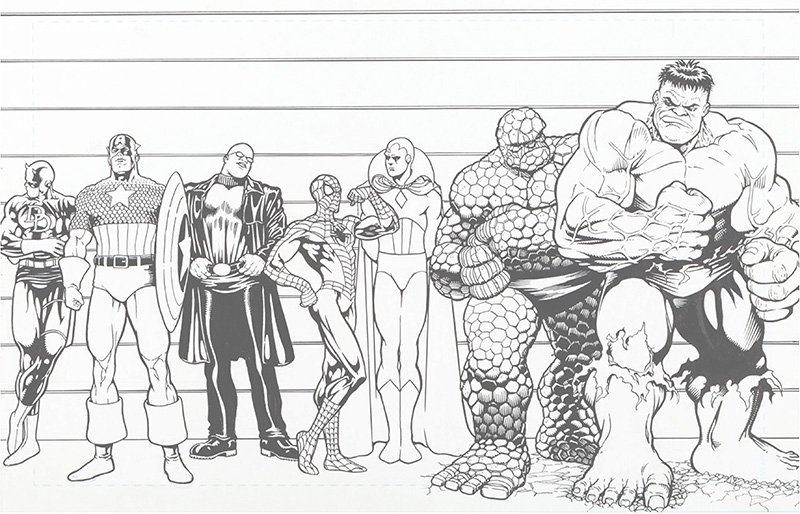
In this activity I’ve taken a drawing by comic artist legend Kevin Maguire (below) and attempted to redraw it, adding light and tonality. Pretty neat exercise, and all from the comfort of my couch thanks to the new iPad :)
Process steps and layer breakdown following.
Initial sketch, breaking down forms, and getting proportions.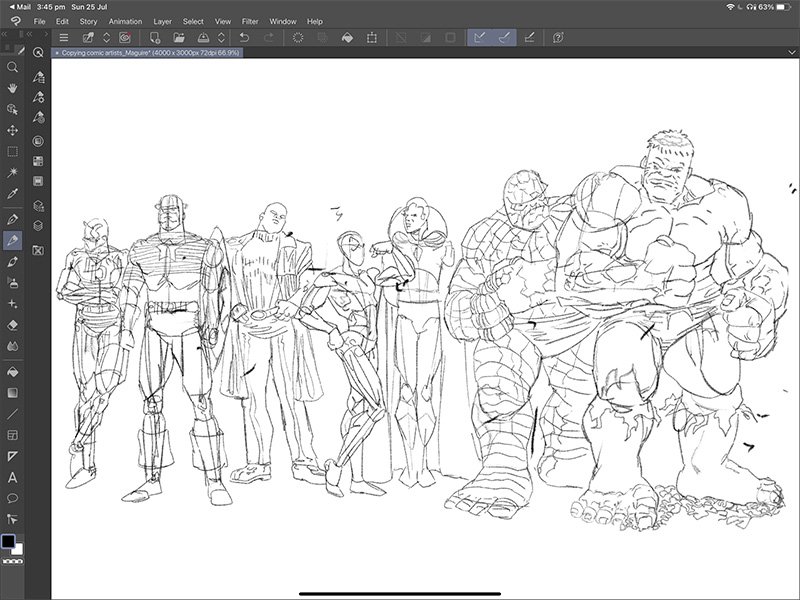
Line drawing over the top to create clarity and seperation.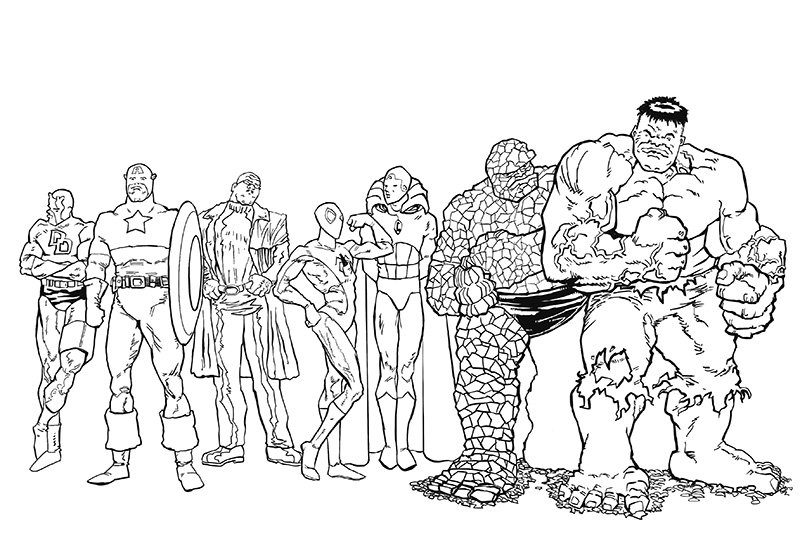
First layer inkwash, seperated layer.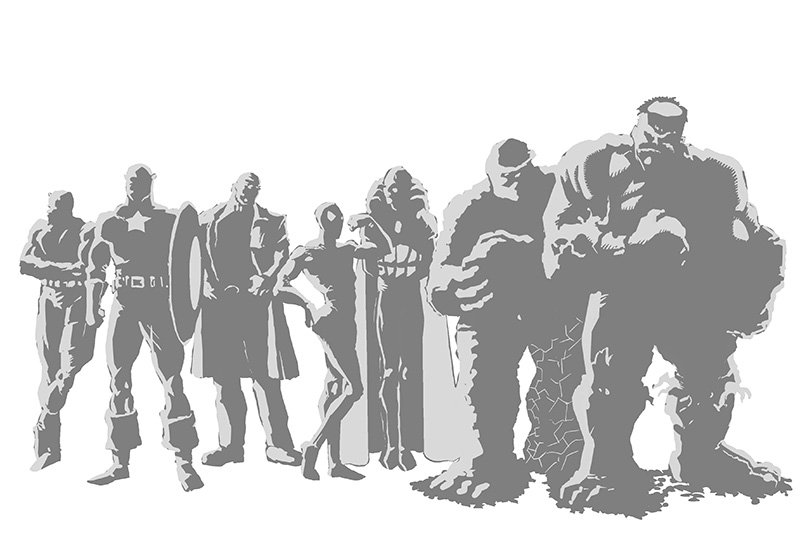
First layer inkwash with ink layer composited.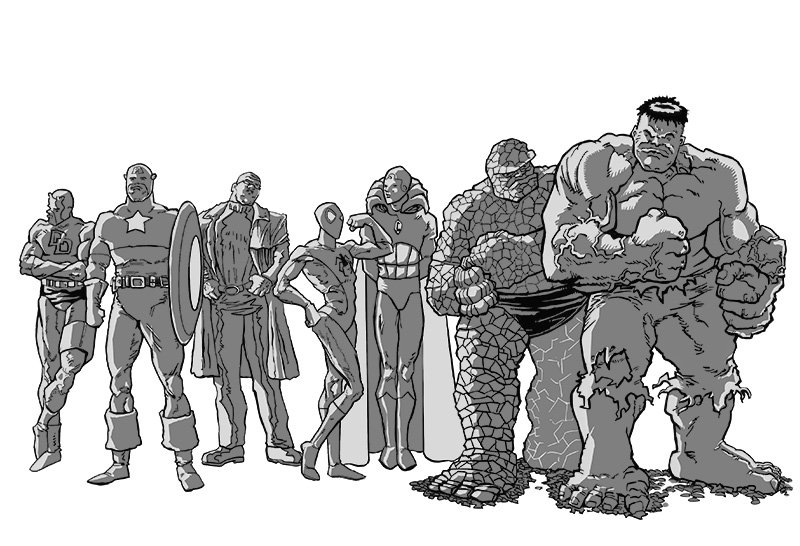
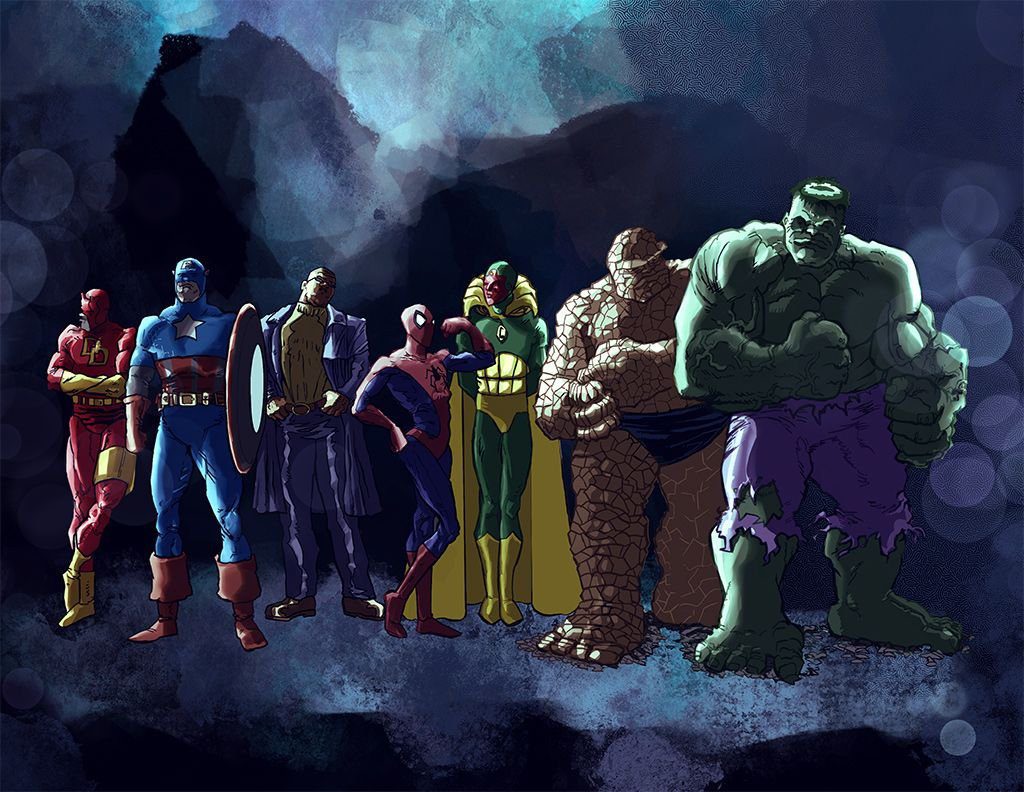
Flat colours. The advantage of working with an initial tonal pass is that I can add flat colours over the top and still get an immediate range of colour variation. This was fairly quick to do, with the colour layer set to Overlay in Procreate.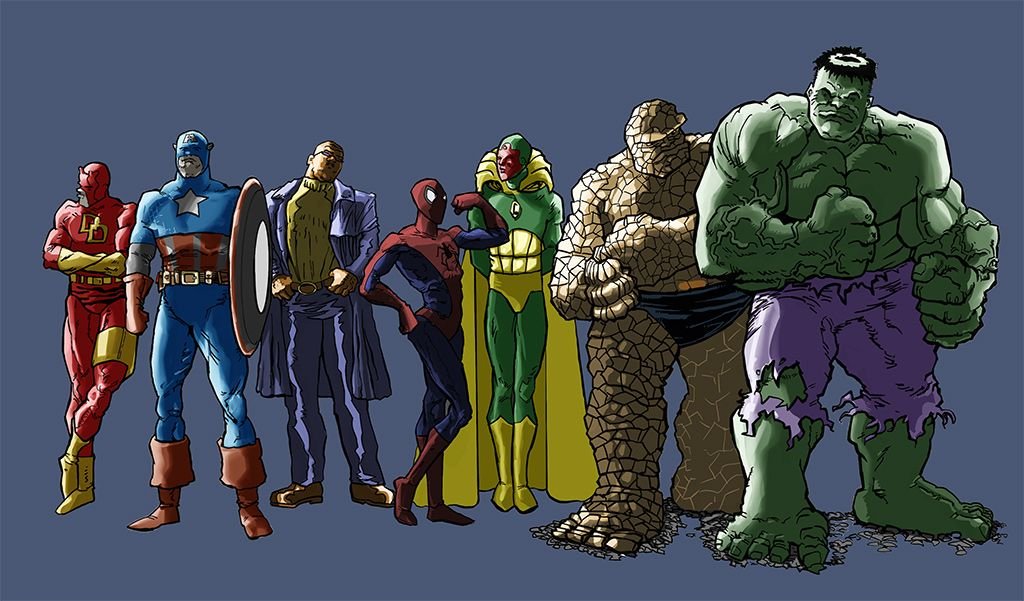
Rough Environment. Once I added in the background I used a different blend mode on the characters to sit them a little more into the environment.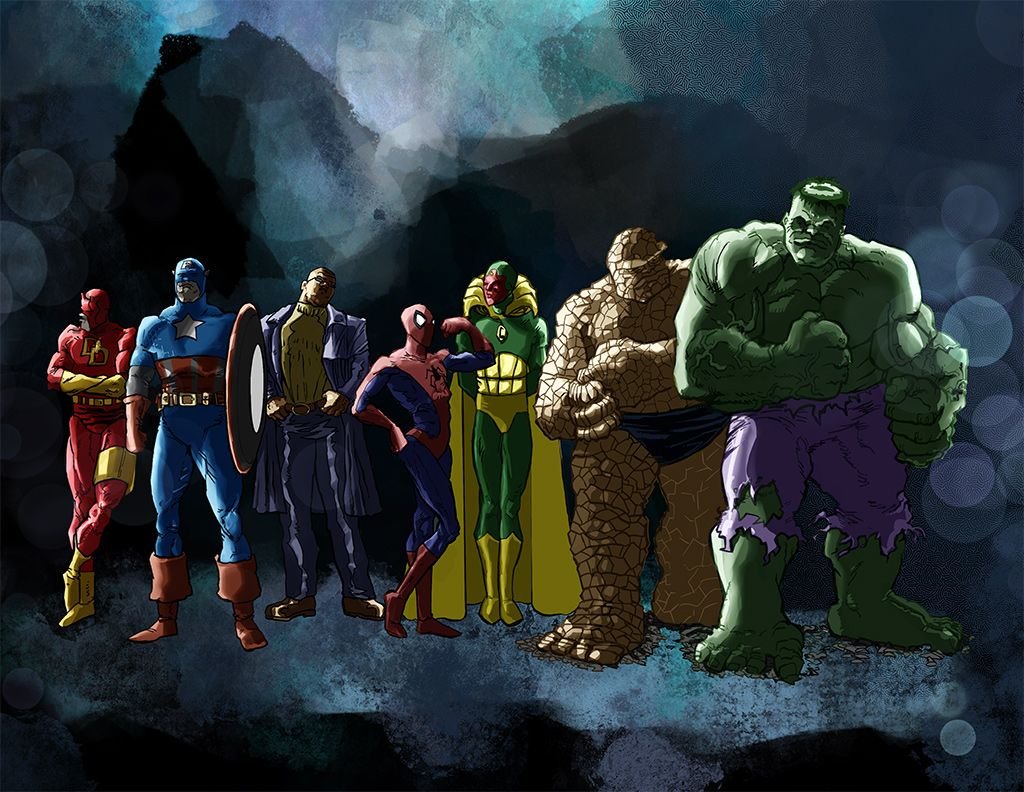
Tooling around. From here i enjoy to mess around with blend modes to look for ‘happy accidents’. This ‘Difference’ blend mode on one of the background layers introduced some interesting red hues that added a bit of excitement to the image.
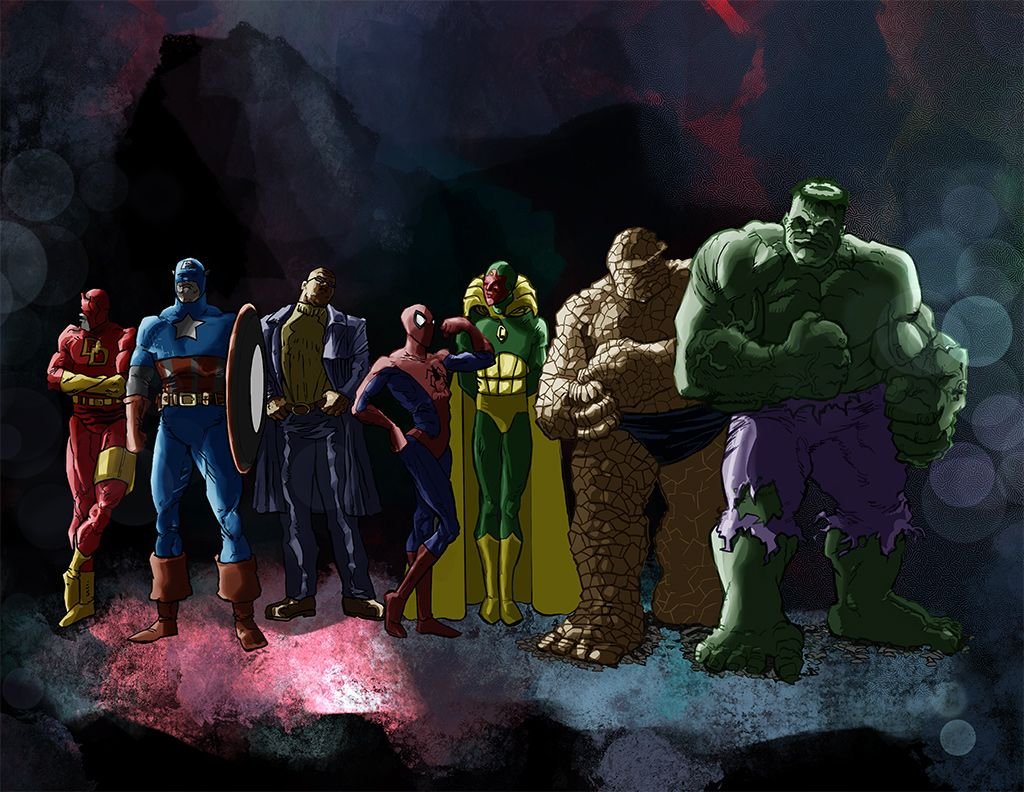
Gradient map over the image pulls all the colours towards a similar hue epectrum for greater unity.

Looking moody and noirish.

I probably should have put more effort into the background.